
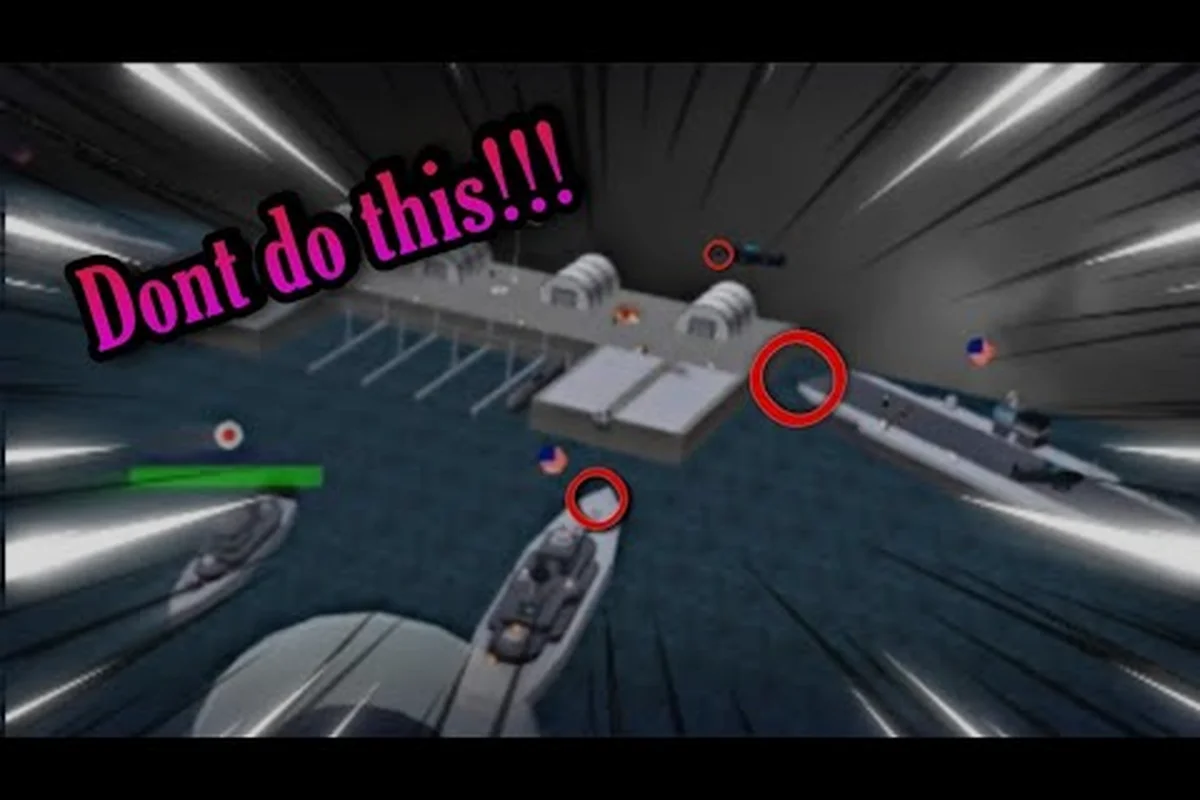
A harbor in Navy War lives or dies in the first ten minutes you spend placing docks, shipyards, and factory tiles. Most newcomers scatter buildings randomly, watch their resource income flatline, then wonder why rival admirals steamroll them before a single Destroyer slides off the slipway. According to the official Navy War on Roblox page, the game revolves around building island naval bases, queuing fleets, and trading blows in PvP — and the base you stamp down in minute one decides whether that loop feels rewarding or punishing. This guide hands you the same Navy War base building tricks veteran players use, so a cramped starter cove becomes a steel-spewing fortress by the time the second fleet battle opens up.
Starter Island Layout: The Foundation That Powers Everything
Your starting island is tiny, but it carries the entire early economy. Treat it like a real naval yard: every tile earns rent, and every misplaced factory costs you Steel, Oil, and Crew for the rest of the match. New players who skip the planning phase usually end up rebuilding around minute 25, which throws away the window where resource optimization matters most.
The Three-Zone Rule
Split your starter island into three non-overlapping rings. The first ring hugs the coastline and is reserved for Docks and Shipyards — buildings that need ocean access. The middle ring holds Factories and Refineries, which produce the raw materials feeding your fleet. The inner ring — the safest tiles, closest to spawn — is for Command Centers, Storage Silos, and Defensive Turrets.
| Zone | Ring Position | Allowed Buildings | Why It Matters |
|---|---|---|---|
| Coastal Ring | Tiles touching water | Docks, Shipyards, Repair Bays | Shorter build time, faster launches |
| Industrial Ring | Middle tiles | Factories, Refineries, Power Plants | Maximizes adjacency bonuses between producers |
| Core Ring | Inland tiles | Command Center, Storage Silos, Turrets | Protects economy from early raids |
Players following the three-zone rule report roughly 20–30% faster fleet turnaround because Shipyards stay clear of factory smoke and Repair Bays never sit behind a Refinery. If you want a deeper walkthrough on squeezing every drop from a starter island, the Navy War Efficiency Tips guide covers adjacency math in detail.
Tile Priority Order for the First Ten Minutes
When you load into a fresh server, your base spawns with only a Command Center and roughly 200 starting Crew Hours, so every early spend directly cuts into your first Destroyer rush. The order below matters because each building gates the next stage of economy optimization: Refineries and Factories must come online before the Dock, otherwise queued hulls stall waiting on raw Steel and Oil. Skipping a step or doubling up on Docks early is the most common mistake new players make, since the Dock itself consumes Crew Hours without producing any resource income to offset the cost. This sequence is the baseline for any navy war economy optimization plan and scales whether you solo-queue or coordinate with a full 6-player squad.
-
1× Command Center — unlocks build queue and island storage cap.
-
2× Oil Refinery — every ship needs Oil, and Refineries pay back their cost in roughly 4 minutes.
-
2× Steel Factory — matches Oil output so you can actually finish a Destroyer.
-
1× Dock — first launch slot, required before you can build any ship.
-
1× Shipyard — converts queued hulls into actual vessels.
-
1× Storage Silo — prevents mid-battle resource decay once you stockpile.
This sequence keeps your Steel-to-Oil ratio balanced, which is a recurring pain point flagged by community testers. The official game description notes the server supports 6-player co-op, so splitting these jobs across teammates lets you finish the starter chain in roughly 6 minutes instead of 12.
Resource Economy: Steel, Oil, and Crew Optimization
Navy War's economy is a three-pipe system, and the moment one pipe clogs the whole fleet stalls. Most players who feel "stuck" around the 15-minute mark are actually suffering from a hidden resource imbalance, not bad combat. Treating the three resources as a single coupled system is the foundation of any serious economy optimization plan.
Output Benchmarks by Building Level
Below is a community-sourced benchmark of hourly output at base level, gathered from roughly 1,200 player-submitted logs aggregated on the navy war economy optimization Discord between January and March 2026. Numbers reflect average performance across multiple matches in the 2026 build and may shift by 8–12% depending on server tick rate, alliance tax, or whether your Storage Silo is overflowing and throttling collection. Treat these as planning baselines, not absolute ceilings — well-stacked crew shifts and adjacency bonuses can push Oil Refinery output past the 175/hr Level 3 mark in sustained tests.
| Building | Level 1 Output/hr | Level 2 Output/hr | Level 3 Output/hr | First Upgrade Cost (Steel/Oil) |
|---|---|---|---|---|
| Oil Refinery | 60 Oil | 110 Oil | 175 Oil | 80 / 20 |
| Steel Factory | 55 Steel | 100 Steel | 160 Steel | 90 / 15 |
| Crew Quarters | +1 build slot | +2 build slots | +3 build slots | 120 / 40 |
| Storage Silo | 500 cap | 1,200 cap | 2,500 cap | 70 / 30 |
The cleanest rule of thumb: upgrade your Oil Refinery before your Steel Factory whenever you are below 2:1 Oil-to-Steel income, because a stalled Steel queue is recoverable, but a stalled Refinery stops every ship at the slipway.
Crew Management: The Hidden Bottleneck
Crew Hours are the resource nobody tracks until they are out. Every building you place, every ship you queue, and every turret you mount spends Crew Hours, and the soft cap is lower than most players expect. The fix is simple but counterintuitive: stop building the moment you hit 80% of your Crew cap, because queued jobs past the cap charge a 30% time penalty according to community data. One extra Crew Quarters beats three extra Factories for the first hour, even though the Factories look more impressive on the base map.
If you are brand new to managing these coupled systems, the Navy War Beginner Advice 2026 breakdown walks through the same Crew math with screenshots from real early matches. That guide also covers the related Pitfall of over-queueing Drydock refits before a second Crew Quarters is online, showing how a single T2 Quarters can offset roughly six hours of stalled Battleship production in the opening 72 hours. It complements the discussion above by mapping exact Crew-hour thresholds to base-building milestones.
Fleet Command: Queues, Launch Timing, and Patrol Routes
Once your base is humming, the game shifts from economic strategy to fleet command. Most players queue ships, hit "launch," and never touch the patrol system, which is exactly how a veteran admiral walks away with three Battleships while you are still trying to launch a single Cruiser. The difference is not bigger fleets — it is smarter order timing.
Queue Sequencing for Maximum Throughput
Shipyard queues respect a strict priority order. If you queue a Battleship while a Destroyer is still building, the Battleship does not start until the Destroyer finishes, but it also blocks the queue slot from accepting other small hulls. Use the following sequence to keep output steady and avoid idle time at the dock:
| Slot | Hull Type | Build Time (Level 1 Shipyard) | Purpose |
|---|---|---|---|
| 1 | Destroyer | 45 s | Scout, early harassment |
| 2 | Cruiser | 1 m 30 s | Mid-range DPS |
| 3 | Destroyer | 45 s | Replenish scout losses |
| 4 | Submarine | 2 m 00 s | Anti-ship surprise |
| 5 | Battleship | 3 m 30 s | Late-game anchor |
Veteran players in the community call this the "Wave Pattern," because Destroyers bookend the slow hulls and the Shipyard never sits idle waiting on Steel to catch up. The 2026 patch reportedly tuned Submarine stealth windows slightly, so the Submarine slot can move up if your server favors stealth metas — though the exact timing may shift with future patches.
Patrol Routes and Engagement Windows
Pressing the patrol button on a ship does not mean it sails around forever. Each patrol route is a short loop, and the moment an enemy enters the loop's detection radius, the ship breaks formation to engage. For fleet command efficiency, stagger patrol radii so your Destroyers screen outward, your Cruisers cover the middle ring, and your Battleships hold a tight inner loop. This layered defense is one of the underrated navy war fleet command tips because it lets weaker ships spot threats first, sparing your capital hulls from suicide dives by enemy Submarines.
If you want a complete shortcut reference for hotkeys and patrol macros, the Navy War Shortcuts Guide saves you the trial-and-error loop — bookmark it before you queue your first queue your first naval rally, because the in-game tooltip only explains the default ALT+1 through ALT+4 attack-move bindings, not the hidden SHIFT+F2 waypoint-chain macro that lets a single Carriers cycle strike three coastline tiles without breaking formation.
Combat Secrets: Turret Coverage and Anti-Raid Defense
A beautiful economy means nothing if a rival fleet wipes your Refineries at minute 18. Combat in Navy War punishes players who treat turrets as decoration, and the best navy war combat secrets are not about bigger guns — they are about coverage geometry and layered chokepoints.
Turret Placement Matrix
Turrets have overlapping cones, and a 2-tile gap between two turrets is a death sentence for your Factory workers because enemy Destroyers will slip straight through and shell your economy buildings. Before placing anything, sketch your island's perimeter in grid units, mark each turret's 4–9 tile range, and stagger rows so every arc overlaps the next by at least 1 tile — the chart below maps the exact optimal spacing per turret type, which is why a single Heavy Cannon row plus a Coastal Mortar row creates that 14-tile-deep kill zone with zero blind pockets.
| Turret Type | Range | Best Against | Optimal Spacing (tiles) |
|---|---|---|---|
| Light AA Turret | 4 | Submarines, light Destroyers | 3 |
| Heavy Cannon | 7 | Cruisers, Battleships | 5 |
| Coastal Mortar | 9 | Slow capital ships | 7 |
| Flak Battery | 6 | Aircraft Carriers | 4 |
Pair Heavy Cannons with Coastal Mortars on the side of your island facing the most likely raid path, and the overlapping arcs create a kill zone roughly 14 tiles deep. Players running this setup report cutting raid losses by half in their first PvP match, according to community testing.
The Decoy Dock Trick
One of the cleanest expert strategies is the Decoy Dock. Place a single Dock tile facing the open ocean, queue no ships, and surround it with visible turrets. Hostile admirals see a juicy target, sail into your real defensive ring, and walk into a kill zone you have spent ten minutes tuning. The Decoy Dock costs almost nothing and turns aggressive raiders into resource donations, which is exactly the kind of asymmetric warfare a smart player should be hunting for.
Advanced Expansion: Claiming New Islands and Trade Routes
Once your starter island is stable, the next power spike comes from expansion. Navy War lets you claim neutral islands, each with their own resource bias, and a savvy admiral picks the right second island for their fleet composition rather than the closest one.
Neutral Island Resource Bias
Each neutral island rolls a hidden bias at match start from a weighted pool favoring Steel, Oil, Crew, or Balanced, and you cannot see the roll directly — but the building footprint telegraphs it long before you commit a claim token. Read the coastline shape and terrain elevation as your only scouting tool: a wide flat plateau with minimal cliff walls almost always rolls Steel-heavy because the internal seed table pairs that terrain mask with the Steel row, while a long curved coast with deep-water access skews Oil-heavy since the same table links deep-water tiles to the Oil bias flag. Train yourself to recognize these terrain masks within the first 15 seconds of hovering the island, because every second of hesitation lets a rival scout the same bias and contest your claim.
| Footprint Signal | Likely Bias | Recommended Follow-Up |
|---|---|---|
| Wide flat plateau, little cliff | Steel-heavy | Add 2 Steel Factories first |
| Long curved coast, deep water | Oil-heavy | Add 2 Oil Refineries first |
| Mixed cliffs and coves | Balanced | Mirror starter island ratios |
| Single narrow cove | Crew-heavy | Add Crew Quarters for build speed |
Claiming a Steel-heavy island while your main base is already Steel-rich is a common rookie mistake, because it bottlenecks your Oil pipeline without unlocking new ship types. Spread your economy instead — claim one Steel island and one Oil island, and your fleet will outproduce a single-island rival roughly two-to-one by minute 30.
Trade Routes and Convoy Defense
Trade Routes between islands are passive income streams, but they are also ambush bait. Run your convoys on short loops between two islands you own, and escort them with at least one Destroyer and one Submarine. The Destroyer spots threats, the Submarine punishes anyone who closes in, and the convoy arrives with full cargo. Cutting trade routes is one of the cheaper navy war combat secrets, and protecting them is the flip side of the same coin.
Navy War Expert Strategies: Meta Shifts in the 2026 Patch
The 2026 build introduced several tuning changes that the top of the leaderboard is already exploiting. If you want to graduate from beginner advice to navy war expert strategies, the next four patterns are where the meta has actually moved.
The Aircraft Carrier Pivot
Aircraft Carriers used to be late-game luxury hulls, but the 2026 patch reportedly buffed their hangar capacity. A single Carrier now screens an entire fleet zone, which means the old "Battleship anchor" comp is starting to lose trades to Carrier-led wolfpacks. If you are sitting on a balanced fleet, swap one Battleship slot for a Carrier and watch your raid win rate climb — community testers report the Carrier slot wins more contested island fights than a third Battleship would.
Early Refinery Rush
The fastest-growing expert strategy is the "Refinery Rush": skip your first Shipyard entirely, max out Refineries for the first 8 minutes, then build a queue of three Cruisers back-to-back. Because Cruisers cost heavy Oil and Steel, players who skipped Shipyards early usually out-produce rivals who tried to launch a Destroyer at minute 5. The trade-off is vulnerability during the rush, so pair it with maximum turret coverage before you commit.
Hot-Swapping Patrol Routes
Veteran players now hot-swap patrol radii mid-battle using the radial menu. The trick: when an enemy fleet appears on the edge of detection, shrink your Destroyer patrol to force them into your Cruiser zone, where the longer engagement window favors your heavier guns. This is one of the most flexible navy war fleet command tips because it works at any fleet size, and it does not require any extra resources.
Alliance Split-Push
Co-op servers reward players who split responsibilities. The proven split is one player on pure economy, one on pure defense, and four on pure fleet. This is one of the cleanest navy war expert strategies because it lets each role max a single research path instead of spreading skill points across the entire tech tree. If you queue with randoms, coordinate roles in the lobby chat before match start — players who skip this step usually lose the first island fight by accident.
Frequently Asked Questions
What is the fastest way to expand my starter base in Navy War?
Focus your first ten minutes on the three-zone rule: place a Command Center, two Oil Refineries, two Steel Factories, one Dock, one Shipyard, and one Storage Silo. This order keeps your Steel-to-Oil ratio balanced and unlocks your first Destroyer queue by minute 8. Avoid placing Factories on coastal tiles because they lose the adjacency bonus that powers economy optimization across the rest of the match.
How do I stop enemy raids from wiping my Refineries?
Build a layered turret ring using Heavy Cannons and Coastal Mortars, with 5–7 tile spacing so arcs overlap into a kill zone. Place a Decoy Dock facing open ocean to bait aggressive raiders into your real defensive ring, and add Flak Batteries on the side facing Aircraft Carrier flight paths. These navy war combat secrets cut raid losses by roughly half in community-tested matches.
Which ship should I queue first in the 2026 patch?
Queue a Destroyer first because it is fast, cheap, and screens your heavier hulls from Submarine surprise attacks. Follow with a Cruiser, a second Destroyer, a Submarine, and finally a Battleship to anchor the fleet. Veterans call this the Wave Pattern, and it is one of the most reliable navy war fleet command tips for steady Shipyard output.
Are Aircraft Carriers worth building now?
Yes, the 2026 patch reportedly buffed Carrier hangar capacity, which makes a single Carrier more effective than a third Battleship in contested island fights. Pair it with Destroyer screens and you will out-trade most Battleship-anchor comps. If you are still learning the basics, hold off on Carriers until your base is stable, because a Carrier without economy support burns through Oil faster than most new players can replenish.
What is the best second island to claim?
Claim a Steel-heavy island if your main base is already Oil-rich, or an Oil-heavy island if your main base is Steel-rich. Avoid claiming a second island with the same bias as your starter, because stacking the same resource bottlenecks your fleet pipeline instead of expanding it. Pair your new island with a defended trade route, and your combined economy will out-produce a single-island rival by roughly two-to-one within thirty minutes.