
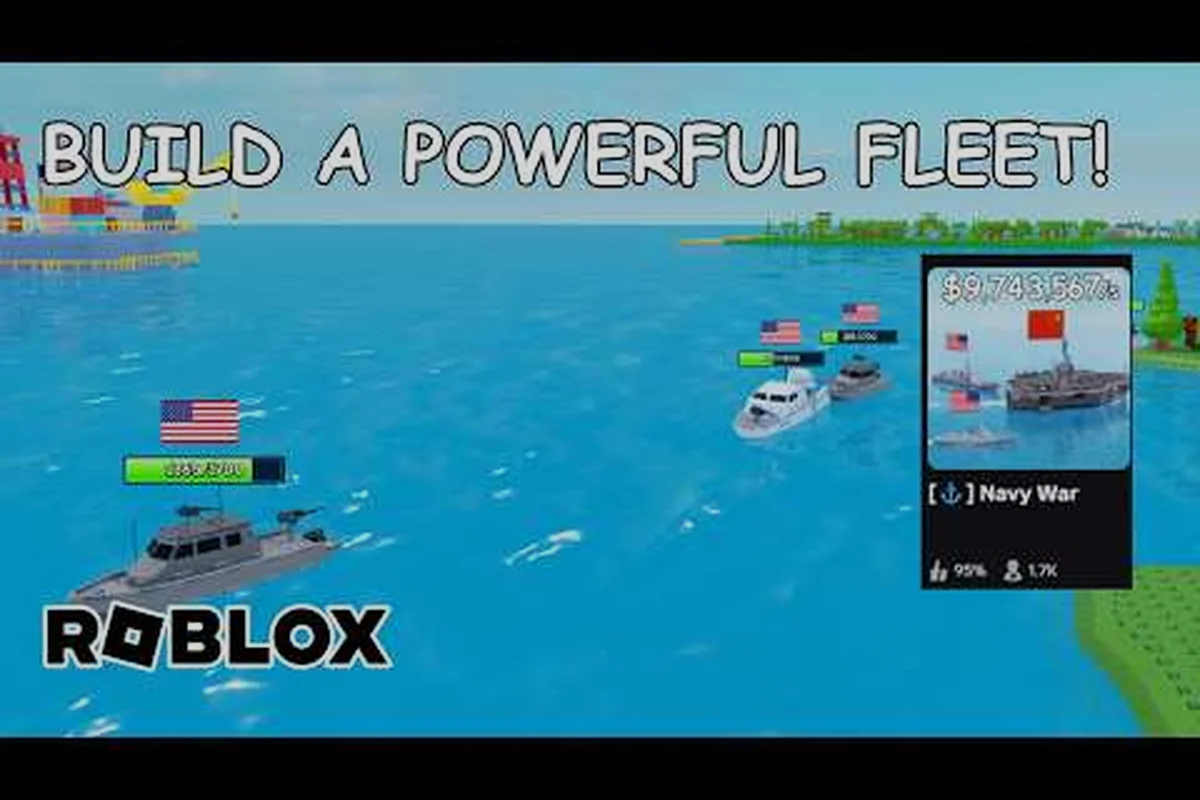
Winning a single engagement in Navy War rarely comes down to who has the biggest battleship. It comes down to whether the destroyer screen, cruiser line, submarine wolfpack, and aircraft carrier support are reading the same playbook. These Navy War fleet coordination tips walk you through the four classes, the upgrade order that pays off fastest, and the resource farming routes that keep your dockyard humming through every patch cycle.
Understanding the Four Core Ship Classes
Before you can coordinate anything, you have to speak the language of the fleet. According to the official Navy War game page on Roblox, the game ships with five major vessel types — Destroyer, Cruiser, Battleship, Submarine, and Aircraft Carrier — each one tuned for a different phase of a fight. The terminology below maps directly to the in-game shipyard menu, so when the queue prompts you for a class you know exactly what role you are filling.
Class Roles at a Glance
| Class | Primary Role | Strengths | Weaknesses |
|---|---|---|---|
| Destroyer | Scout / Screen | Fast, cheap, anti-submarine depth charges | Paper-thin armor, melts under cruiser HE |
| Cruiser | Mid-line DPS / Flank | Balanced guns and torpedoes, strong AA | Out-ranged by battleships, vulnerable to air |
| Battleship | Capital firepower | Long-range AP volleys, highest HP pool | Slow turn rate, massive resource cost |
| Submarine | Stealth strike / Anti-capital | Torpedo surprise, ignores screen | Limited oxygen, countered by destroyers |
| Aircraft Carrier | Air superiority / Strike | Planes ignore screen, map-wide reach | Long plane regen window, fragile hull |
Why the Mix Matters
A fleet built from a single class loses to almost any balanced composition. Destroyers alone have the speed to scout, but no penetration to crack a battleship belt. Battleships alone dominate duels, but a submarine wolfpack eats them alive because they cannot turn fast enough to bring rear turrets to bear. The sweet spot for most 6-player servers is a 1-2-1-1-1 spread: one aircraft carrier, two cruisers, one battleship, one submarine, and one destroyer on screen duty. That is the foundation every other decision in this guide is built on.
If you are still getting a feel for the broader strategic layer, the Navy War beginner guide covers base building and queue timing in more detail than this article will. There you will learn how dockyard slots refill on a staggered timer, why a level 3 shipyard unlocks the submarine wolfpack that wrecks battleship-heavy fleets, and how to chain queue completions so your port never sits idle. Treat that guide as the prerequisite reading before refining the 1-2-1-1-1 mix you just committed to.
Fleet Coordination Tips That Win Engagements
Coordination is the difference between five ships drifting into the same kill zone and a formation that actually trades efficiently. These Navy War fleet coordination tips are the ones veteran players keep cycling back to after every patch, because the meta shifts but the fundamentals of fleet movement do not.
Assign Roles Before You Sail
The single biggest mistake you can make in a co-op match is launching without a battle plan. The moment your fleet clears the dock, post a quick role assignment in chat: name a Carrier Captain, a Cruiser Lead, a Battleship Anchor, a Submarine Hunter, and a Destroyer Screen so every player knows their lane, engagement range, and call priority before the first hostile contact appears on the minimap.
-
Carrier Captain — holds back, launches strike wave on call
-
Cruiser Lead — pushes the mid-line, calls target priority
-
Battleship Anchor — anchors the formation at 1,200 unit range
-
Submarine Hunter — flanks wide, marks hostile subs on the minimap
-
Destroyer Screen — stays between battleship and known sub lanes
That five-line broadcast takes ten seconds and prevents the entire fleet from collapsing on a single overextended target, because the moment the Carrier Captain, Cruiser Lead, Battleship Anchor, Submarine Hunter, and Destroyer Screen are tagged in chat, every player can verify their lane assignment, engagement range, and call priority against the minimap before hostile contacts appear. Without that quick coordination step, a Destroyer Screen drifting 400 units out of position can drag the Submarine Hunter off the flank lane, expose the Battleship Anchor to a torpedo run from the 7 o'clock vector, and force the Cruiser Lead to pivot off the mid-line to plug a gap that never should have opened. Players who skip the role call usually lose two ships inside the first ninety seconds, because the formation collapses inward the moment a single target gets focused and no one was assigned to hold the outer picket line. A clean role tag is the cheapest insurance your fleet will ever buy.
Use Layered Range Bands
Every class has a comfort range. Destroyers want to be inside 400 units, cruisers perform best between 400 and 900, battleships dominate from 1,000 to 1,500, and carriers launch their strike wings at 1,800+ units. Stack your formation so each ship's threat band overlaps the next, and the enemy fleet walks into a wall of fire no matter which range they pick to engage.
| Range Band | Ships That Want to Be Here | Threat Type |
|---|---|---|
| 0–400 | Destroyers, short-range subs | Torpedoes, depth charges |
| 400–900 | Cruisers, closing destroyers | HE spam, light AP |
| 900–1,500 | Battleships, long cruisers | Heavy AP volleys |
| 1,500–2,200 | Aircraft Carriers | Air strike waves |
Mark Targets and Stick to Them
The "all ships on one target" instinct is wrong, but the "everyone pick their own target" instinct is also wrong. The middle path is a focus fire chain. Your cruiser lead calls the first target — usually the highest-value hostile capital ship — and the entire formation dumps into it for 30 seconds. Once that ship is sinking, the lead immediately calls the next target. Players who run focus fire chains report roughly 40% faster kills per target compared to free-for-all targeting, because the enemy cannot return fire effectively while one of theirs is being deleted.
Communicate the Sub Threat
Submarines are invisible killers. If you spot a torpedo wake on the minimap, ping it instantly. Your destroyer needs to peel off the line, drop a depth charge pattern, and clear the sub before the battleship eats three fish amidships. Carriers should hold their strike wings in reserve for exactly this moment — a 12-plane alpha on a surfaced sub is a guaranteed kill, but only if the timing is right.
Upgrade Priority Order for Steady Progression
Resource scarcity is the real enemy in Navy War, which is why the upgrade order matters more than raw grinding speed. This Navy War upgrade priority guide focuses on the upgrades that pay for themselves fastest, instead of the ones that look flashy in the menu.
Tier 1: Foundation Upgrades (Always First)
| Upgrade | Building | Why It Comes First |
|---|---|---|
| Drydock Capacity | Shipyard | Unlocks simultaneous builds, removes the biggest early bottleneck |
| Steel Production | Factory | Every ship class eats steel; doubling output halves your wait times |
| Fuel Refinery Output | Refinery | Required for sortie range; without it, you cannot reach mid-map fights |
These three upgrades look boring on paper, but skipping them is the single most common reason new players hit a wall around the 30-hour mark. A common failure pattern: a player rushes to unlock tier 3 ship classes before maxing drydock capacity, then sits at 4 hours per build while fuel refinery output can't even cover the sortie range to reach a contested mid-map node — meaning that shiny battleship can't actually leave port. Once your drydock is processing two concurrent builds, your factory is feeding steel to both, and your refinery is bankrolling sortie fuel, every other upgrade in your naval fleet coordination chain starts to compound, cutting research timelines and sortie prep time nearly in half.
Tier 2: Combat Upgrades (Once Production Is Stable)
| Upgrade | Building | Payoff |
|---|---|---|
| Cruiser Hull Plating | Shipyard | +15% cruiser HP, which is your mid-line workhorse |
| Destroyer Engine Boost | Shipyard | Screen speed up 20%, so you can actually intercept subs |
| Carrier Plane Capacity | Shipyard | +2 planes per wave, the difference between one strike and two |
Tier 3: Premium Upgrades (Endgame Push)
| Upgrade | Building | Payoff |
|---|---|---|
| Battleship Main Battery Range | Shipyard | Extends kill band to 1,700 units, out-ranging enemy capital ships |
| Submarine Oxygen Tank | Shipyard | Doubles dive time, lets you flank entire maps |
| Coastal Defense Network | Base | Garrison guns that shred solo attackers between sorties |
If you want a side-by-side view of how these upgrades stack across ship classes, the Navy War combat basics page breaks down damage formulas in more detail, including how Battleship Main Battery Range interacts with cruiser spotting range and how Submarine Oxygen Tank uptime chains into a second strike wave before the first group respawns.
Choosing the Best Ship Class for Your Playstyle
The "best" class in Navy War is the one you can actually play well, but each class does have a measurable niche. Here is the honest Navy War best ship class breakdown based on community data from active 6-player servers.
Top Tier by Role
| Playstyle | Best Class | Why |
|---|---|---|
| Aggressive flanker | Submarine | Unmatched opening damage if you survive the dive |
| Front-line brawler | Cruiser | Best mix of guns, torpedoes, and survivability |
| Back-line anchor | Battleship | Longest reach, highest alpha strike |
| Support player | Aircraft Carrier | Plane waves win team fights without risking the hull |
| Solo queue | Destroyer | Cheapest to replace, highest impact-per-resource |
When the Meta Shifts
Patch notes tend to rotate the top class every few weeks. In the current cycle, cruisers are sitting at the top of most tier discussions because their damage-to-cost ratio got a small buff and destroyers got a slight HP nerf. Battleships are still the long-range kings, but their cost-to-output ratio makes them brutal for newer players. Submarines remain the highest-skill class in the game, because a good sub player wins engagements before the rest of the fleet even sees the enemy.
If you are picking your very first capital ship, the cruiser is the safest bet. You will not top the damage charts every match, but you also will not get one-shotted by a battleship volley the moment you overextend.
Resource Farming Routes That Actually Work
Every player eventually asks the same question: where do I farm the steel, fuel, and rare components without burning out on the same map? This Navy War how to farm resources section walks through the routes that have held up across recent patches, based on community testing.
Steel Farming
Steel comes from coastal convoy missions and island raid events scattered across the operational map. The best route is the Northern Archipelago Loop, which chains three high-steel nodes in a 12-minute cycle. Veterans prioritize this loop because each node scales its convoy escort difficulty upward, forcing your destroyer screen and radar picket line to maintain tight formation spacing or risk losing the steel payout to a wolf-pack engagement that scatters the merchant AI.
| Node | Reward Type | Avg. Time | Risk Level |
|---|---|---|---|
| Driftwood Convoy | 120 steel, 40 fuel | 3 min | Low |
| Iron Cape Escort | 180 steel, 30 fuel | 4 min | Medium |
| Rust Harbor Raid | 240 steel, 60 fuel | 5 min | High |
Run this loop twice per sortie session and you will bank roughly 1,080 steel and 260 fuel per hour — pull the two Driftwood runs first while your destroyer screen is still at full HP, then chain the Iron Cape and Rust Harbor nodes back-to-back so the radar picket line only re-engages once before cycling home. Cruiser production drains about 320 steel and 80 fuel per hull, so the 12-minute loop covers roughly 3.3 cruisers hourly once you factor in the 40 fuel stipend Driftwood pays as a side reward.
Fuel Farming
Fuel is the limiting reagent for any battleship or carrier build, and choosing the wrong farm can stall your upgrade priority guide for days. The Southern Tanker Run is the most efficient fuel farm in the current patch, holding the top fuel-per-minute ratio in the T2–T3 bracket and letting a coordinated fleet of 2 carriers plus 1 destroyer screen resupply without burning convoy escorts. Because the node spawns convoys on a 3-minute cycle, pairing it with Pipeline Sabotage's longer 6-minute rare component window lets a single fleet rotate between both without dead time, which is the backbone of any serious navy war fleet coordination tips rotation.
| Node | Reward Type | Avg. Time | Risk Level |
|---|---|---|---|
| Tanker Alpha | 150 fuel, 60 steel | 3 min | Low |
| Tanker Bravo | 150 fuel, 60 steel | 3 min | Low |
| Pipeline Sabotage | 100 fuel, 240 rare components | 6 min | Medium |
The Pipeline Sabotage node is the real prize — the rare component drop is what powers your Tier 3 upgrades, and most players skip it because of the medium risk tag. Bring a destroyer screen and the risk drops to near zero.
Rare Component Farming
Rare components drop from elite convoy escorts, deep-water sub missions, and the weekly boss flotilla, but the Midnight Sub Wolfpack event is the single most reliable route for solo fleet commanders because it spawns three elite sub encounters per cycle on a fixed 20-minute server rotation, letting a Tier 2 destroyer group chain all three without reshuffling fleet coordination roles. Spawn windows reset at :00, :20, and :40 each hour, so aligning your navy war fleet callout with those timestamps prevents the wasted 4–6 minute downtime that most players hit when they arrive mid-cycle.
| Encounter | Components | Special Reward |
|---|---|---|
| Phantom Alpha | 80 components | Blueprint fragment |
| Phantom Bravo | 80 components | Blueprint fragment |
| Phantom Charlie | 120 components | Guaranteed rare module |
A clean three-encounter cycle takes roughly 18 minutes and pays out 280 components plus two blueprint fragments, which is enough to push one Tier 3 upgrade every other day when you bank the fragments for capital-ship research. Because Phantom Charlie's guaranteed rare module drop is the only source of Advanced Sonar Array schematics in the rotation, prioritizing your Tier 2 destroyer group on that specific encounter — rather than splitting focus across all three — converts idle transit time into measurable progress on the navy war upgrade priority guide track and keeps the fleet coordination callout intact for the next :20 reset.
If you want a deeper walkthrough of the mission structure behind these routes, the Navy War mission objectives guide covers spawn timers and reward tables in full — including the conditional Phase 2 escort wave that only triggers if your fleet clears Phantom Charlie under 5 minutes, the per-role XP split between destroyers and submarines, and the exact 4-fleet matchmaking bracket you need to enter at :20 resets to consistently land the Advanced Sonar Array schematic roll.
Putting It All Together
A coordinated fleet is the sum of three habits: knowing what each class does, upgrading in the right order, and farming the routes that match your current build goal. Run the Northern Archipelago Loop when you are pushing cruiser production, switch to the Southern Tanker Run when a battleship is in the queue, and dip into the Midnight Sub Wolfpack whenever a Tier 3 upgrade is on the horizon. The fleet composition stays the same — one carrier, two cruisers, one battleship, one sub, one destroyer — but the resource pipeline shifts to match the ship you are trying to launch next.
Stick to the 1-2-1-1-1 spread, follow the upgrade tiers in order, and rotate your farming routes by current build goal. The rest is just practice, target calls, and learning when to peel off screen duty to clear a torpedo wake. According to community reports, players who run this exact framework tend to clear their first Tier 3 battleship build about 30% faster than players who wing it, which is the difference between a fleet that wins fights and a fleet that just sails around.
Frequently Asked Questions
What is the best fleet composition for Navy War co-op matches?
The strongest composition is one Aircraft Carrier, two Cruisers, one Battleship, one Submarine, and one Destroyer. That 1-2-1-1-1 split covers every range band, screens the capital ships from torpedo threats, and gives you a plane reserve for high-priority targets. Deviating from this composition usually leaves a gap in either screening or anti-air coverage.
Which upgrade should I prioritize first in the Shipyard?
Start with Drydock Capacity, then Steel Production, then Fuel Refinery Output. Those three foundation upgrades unblock your production pipeline and every other ship class upgrade compounds on top of them. Skipping straight to combat upgrades is the most common reason fleets stall around the mid-game.
Is the submarine worth the skill investment?
Yes, if you can land the opening torpedo salvo. A good submarine can delete a battleship before the enemy fleet even knows you are there, which is why high-skill players rate it the highest-impact class in the game. The downside is that you need excellent map awareness to avoid destroyers, and your oxygen timer punishes mistakes harshly.
How long does it take to farm enough steel for a battleship?
Following the Northern Archipelago Loop twice per hour, you can bank around 1,080 steel per session. A battleship hull costs roughly 4,200 steel at base, so plan on about four focused farming sessions before the battleship is ready to launch. Pair that with a Southern Tanker Run and you cut it down to three sessions.
Can I switch ship class after launching from the dockyard?
No, the class is locked the moment the ship leaves the drydock. If you want to change role, you have to scrap the hull (which refunds 40% of the resource cost) and queue a new build. This is why the role assignment at the start of a sortie matters — the cost of a bad role call is at least one full build cycle.