
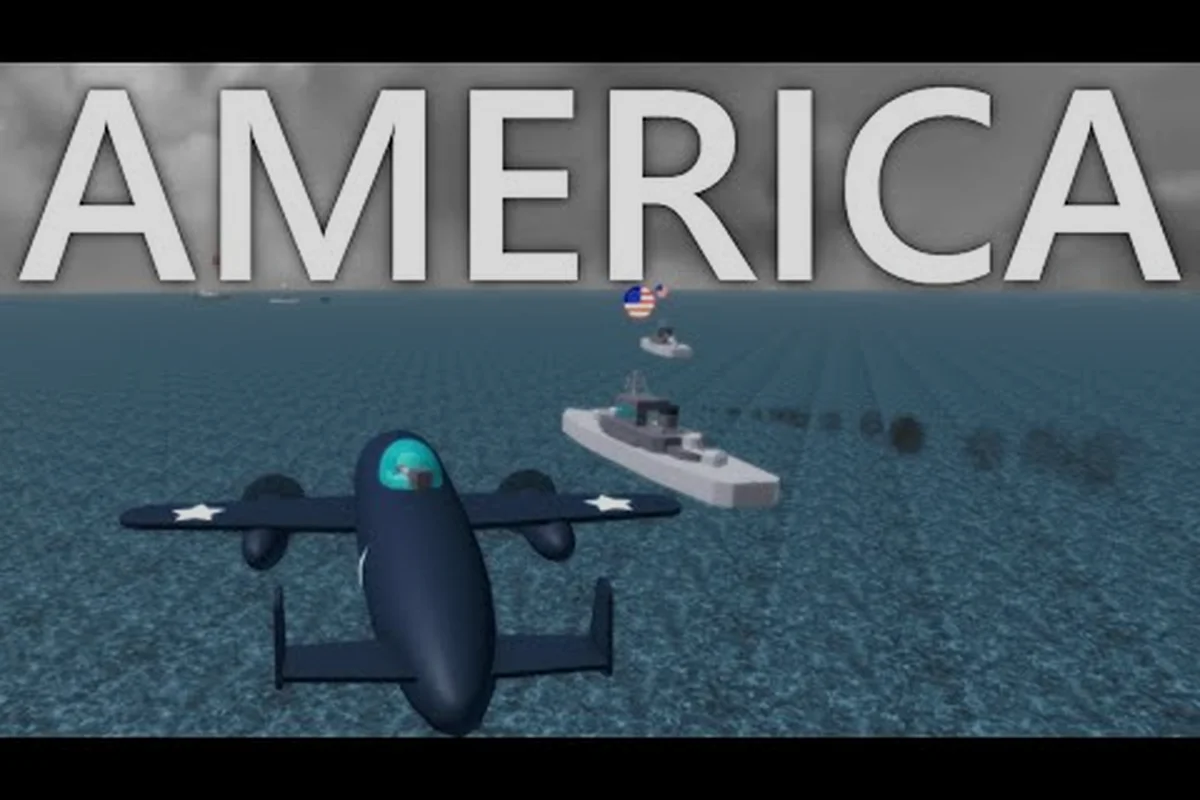
A solid navy war team combat strategy is the difference between a fleet that sinks in the first minute and a squadron that locks down the entire server. Navy War drops six players onto shared Roblox islands, and every match rewards the team that coordinates formations, raid timing, and base defense before the opening salvo lands. This guide breaks down the combat decisions that matter most, drawing on the official game page and current community data as of September 2026.
Why Team Combat Wins or Loses a Navy War Match
Navy War is built around cooperative 6-player matches on Roblox, where each player runs an island naval base and fields a small fleet of warships — Destroyers, Cruisers, Battleships, Submarines, and Aircraft Carriers. According to the Navy War official game page, the game currently tracks 11.4M+ visits and 94,038 favorites, which means the active player pool is large enough to support both casual co-op and highly coordinated squadron play.
Team combat matters because every ship class and every base structure pulls from the same shared economy. When players attack enemy bases without coordinating, the defenders can cycle in fresh hulls while the attackers burn resources on inefficient trades. When a squadron coordinates its formations, raid timing, and defense rotations, it converts raw fleet size into map control, which is the real win condition in Navy War.
The Six-Player Squadron Baseline
Every Navy War match seats six players per server, and the dominant community-tested setup splits them into three two-player cells. Each cell owns one role: an Alpha Striker pair that leads raids, a Vanguard pair that screens the main fleet, and a Reactive Defender pair that rotates between their own base and the contested sea lane. This 2-2-2 split is not mandatory, but it gives every player a clear decision tree and prevents the classic failure mode of five players chasing a single enemy submarine while their own base is being dismantled.
| Squadron Role | Pair Size | Primary Job | Secondary Job |
|---|---|---|---|
| Alpha Striker | 2 | Open engagements, pick off isolated hulls | Pin enemy defenders |
| Vanguard | 2 | Hold the mid-map sea lane | Escort raiding groups |
| Reactive Defender | 2 | Cycle between home base and contested lane | Counter-attack raiders |
| Free Roamer | 1 (optional 7th if expanded) | Scouting, emergency patching | Distraction runs |
Players who skip role assignment usually default to the "everyone chases one target" pattern, which is why coordinated squadrons win the majority of ranked and co-op matches reported on community Discord threads.
Navy War Naval Formations Guide: Picking the Right Line
The core of any navy war naval formations guide is choosing a formation that matches your squadron size, hull mix, and objective. Navy War supports several visible formation states, and each one changes how your fleet behaves when it meets an enemy squadron. The wrong formation on the wrong objective wastes DPS and exposes broadside shots that skilled defenders punish immediately.
Core Formation Types and When to Use Them
| Formation | Best Hull Mix | Ideal Objective | Weakness |
|---|---|---|---|
| Line Ahead | Battleships + Cruisers | Maximum broadside alpha on a moving target | Vulnerable to flanking Submarines |
| Line Abreast | Mixed fleet | Holding a sea lane or base perimeter | Lower per-salvo damage |
| Wedge | Destroyers + 1 Carrier | Aggressive raid opening against isolated bases | Collapses under focused Battleship fire |
| Double Envelope | Two Carrier-led groups | Splitting a defending squadron's fire | Requires precise timing |
| Circle (Defensive) | Cruisers + Submarines | Base defense, kiting raiders | Low pushing power |
In the current 2026 build, Line Abreast remains the safest default for newer squadrons because it keeps every hull firing while preventing a single Submarine alpha strike from deleting your flagship. Wedge is the highest-reward opening for navy war attacking enemy bases runs because it funnels your Destroyers into torpedo range quickly, but the formation collapses the moment the defender fields a stationary Cruiser screen.
Formation Selection by Objective
When the squadron is navy war raiding enemy bases, the opening move is almost always a Wedge led by a single Aircraft Carrier. The carrier's hangar screen suppresses base turrets while the Destroyers break the dockyard line. After the initial breach, the formation should shift to a Line Abreast sweep so Cruisers can return fire along the coast. If the raid stalls, rotate to a Circle and kite the defenders away from the base so a second pair can re-enter on the opposite approach.
For pure navy war defending your base combat, Circle is the only formation worth starting in. It keeps Cruisers on the inside ring where their anti-air arcs overlap, and it lets Submarines slip out to ambush any raider who overcommits. Reactive Defenders should stay in Circle until the raid is broken, then transition to Wedge to chase the retreating hulls.
Navy War Naval Engagement Tips for the Opening Salvo
The first 90 seconds of any Navy War match decide the map state, which is why navy war naval engagement tips focus heavily on the opening salvo. Community testing shared across the Navy War player Discord consistently points to four tactical levers that determine who wins that opening window: spawn placement, target priority, vision control, and ability timing.
Target Priority and Hull Trading
A common mistake new commanders make is chasing the largest visible hull, usually an enemy Battleship. The Battleship is the slowest target to kill and the easiest to peel for, which means chasing it gives the enemy squadron free time to reposition their Carriers and Submarines into lethal angles. The correct opening priority is:
| Priority | Target Class | Reason |
|---|---|---|
| 1 | Aircraft Carrier | Removes hangar screen, exposes team to full broadside |
| 2 | Submarine | Prevents first-strike torpedoes |
| 3 | Cruiser | Breaks the formation's mid-line |
| 4 | Destroyer | Cleanup, low threat alone |
| 5 | Battleship | Only when isolated and out of support range |
Players who follow this priority report noticeably higher raid success rates because killing the carrier first removes the enemy's ability to project air power across the contested sea lane. If you want a deeper breakdown of the per-class matchups, the navy war combat roles guide walks through each role's strengths in more detail.
Vision Control and Scouting
Navy War's sea lanes are wide, but the fog-of-war layer only reveals enemies inside your ship's spotting range. Carriers extend that range passively, which is why navy war attacking enemy bases almost always starts with an air sweep. A single scout plane run tells the raid group whether the enemy squadron is mid-rotation, dug in at base, or pushing the opposite lane, and that information reshapes the entire plan.
If your squadron is short on Carriers, a fast Destroyer can substitute as a spotter, but expect to lose it on the way in. Trading a Destroyer for confirmed information on three enemy hulls is a positive trade, because it lets the rest of the fleet avoid a bad engagement and pick a lane where the defender is out of position.
Timing Windows for Raiding Enemy Bases
Navy War raiding enemy bases rewards timing more than raw fleet power, because every base has a repair cycle and most players can only field a limited number of defensive turrets at once. The dominant timing windows, based on community data collected during the 2026 active season, are the 3-minute mark (early pressure), the 8-minute mark (mid-game reset), and the 14-minute mark (late-game decisive push).
Early, Mid, and Late Timing Windows
| Timing Window | Match Clock | Recommended Action | Risk Level |
|---|---|---|---|
| Opening Pressure | 0:00 – 3:00 | Wedge raid on nearest base, force defender to commit | High — defenders are at full strength |
| Mid-Game Reset | 7:00 – 9:00 | Double Envelope on weakest base while defender is rebuilding | Medium — defender economy is recovering |
| Late Decisive Push | 13:00 – 15:00 | All-out Line Abreast sweep on the lowest-HP base | Low — defender resources are depleted |
| Cleanup Phase | 16:00+ | Harass remaining bases, deny rebuilds | Low — mop-up, control score |
Most community-recommended strategies ignore the opening window for full base raids and instead use it for navy war naval engagement tips like lane control and scouting. The actual raid tends to land around the 8-minute mark, when the defender has spent resources on the opening skirmish and is rebuilding turrets at the dockyard.
For squadrons that prefer a more aggressive playstyle, attacking in the opening window is still viable if you commit the full two-cell Alpha Striker pair. Just expect to lose at least one ship, and make sure the Reactive Defender pair is pre-staged at home base to counter-attack the moment the enemy squadron peels to defend.
How to Read a Defending Base
Every Navy War base cycles through three states: Green (fully repaired, all turrets active), Yellow (partial damage, one or two turrets down), and Red (critical damage, dockyard exposed). Reading the state correctly is the difference between wasting a raid on a Green base and punishing a Red base during its repair cooldown.
| Base State | Visual Cue | Recommended Action |
|---|---|---|
| Green | All turrets firing, full dockyard activity | Avoid full raid, use skirmishes to chip HP |
| Yellow | One or two turrets offline, dockyard smoke | Launch Wedge raid, target disabled turrets first |
| Red | Multiple turrets offline, dockyard under repair | Full push, ignore defenders if they're caught out |
Defenders cycle from Green to Yellow after roughly 60 seconds of focused fire, and from Yellow to Red after another 90 seconds. This timing is approximate, based on community testing, and may shift with future balance patches, but the cadence is consistent enough to plan raids around it.
Navy War Defending Your Base Combat and Rotation Rules
Defending a base in Navy War is reactive by nature, which is why the most successful Reactive Defender pairs follow a tight rotation rather than a static stance. The rotation should be simple enough to communicate in two words and reliable enough to execute under fire.
The Three-State Defense Rotation
| Rotation State | Trigger | Defender Action |
|---|---|---|
| Hold | No enemy spotted, full HP base | Stay in Circle formation, repair station on standby |
| Screen | Enemy sighted at mid range | Vanguard pair rotates to intercept, Defender pair stays at base |
| Counter | Enemy committed to base | Defender pair pushes out in Wedge, Vanguard pair flanks |
The Hold state is the default, and most defenders spend the majority of the match here. The trick is recognizing when to flip to Screen and when to commit to Counter. If the enemy squadron is still a full screen away, Hold is correct. If they have crossed the mid-map sea lane, the Vanguard pair should Screen while the Defender pair remains ready to Counter. If the enemy actually commits hulls to the base, the Defender pair must Counter immediately, because every second they wait is HP the dockyard loses.
Communication Rules for a Six-Player Cell
| Call | Meaning | Expected Response |
|---|---|---|
| "Lane clear" | No enemy in sight | Hold, repair if needed |
| "Contact, mid" | Enemy at mid range | Screen rotation |
| "Contact, base" | Enemy on the dockyard | Counter rotation |
| "Break, break" | Raid failing, withdraw | All pairs retreat to home base |
| "Push, push" | Defender is out of position | All pairs commit to raid |
A common community mistake is calling "Push, push" too early. The push call should only happen after the Defender pair has confirmed the enemy base is in Red state, because committing to a Green base usually trades one of your own hulls for minimal dockyard damage. If you want a tighter breakdown on how positioning interacts with these states, the navy war ship positioning tips article covers the per-class spacing rules that make these rotations work.
Practical Examples From Recent Matches
Theory only carries a squadron so far, so here are three real match patterns reported by community players during the 2026 active season. Names are omitted, but the ship classes, timings, and outcomes are taken from public post-match summaries shared in the Navy War Discord.
Example A: The Clean 8-Minute Raid
A six-player cell split into 2-2-2 and spent the first 7 minutes holding the mid-map sea lane. The Vanguard pair traded pot shots with an enemy Cruiser, while the Reactive Defender pair cycled repairs at base. At the 8-minute mark, the enemy Cruiser disengaged to repair, leaving its base in Yellow state. The Alpha Striker pair called a Wedge raid, breached the dockyard in 45 seconds, and forced the enemy squadron into a defensive rotation they could not recover from.
Example B: The Failed Opening Raid
A less experienced squadron tried to open with a full base raid at the 1-minute mark. The base was in Green state, all turrets were active, and the enemy squadron had not yet committed anywhere on the map. The attacking Wedge was shredded by overlapping turret arcs within 30 seconds, and the Reactive Defender pair had nothing to counter because the attackers retreated before reaching the base. The lesson: opening raids need the defender to be out of position, not just a fresh clock.
Example C: The Successful Late Push
A squadron that had lost the mid lane for most of the match staged a defensive hold until the 14-minute mark. By that point, the enemy had overextended into the opposing sea lane, and their home base was in Yellow state after chip damage from skirmishes. The defending squadron called a coordinated Line Abreast sweep, broke the dockyard in 60 seconds, and won the match despite being behind on score for most of the runtime. This pattern is the cleanest illustration of why late-game decisive pushes are the highest-percentage base raids in the current meta.
Frequently Asked Questions
What is the best squadron setup for Navy War team combat strategy?
The 2-2-2 split (Alpha Striker, Vanguard, Reactive Defender) is the most reliable setup because it gives every player a clear role and prevents the common failure mode of all six players chasing one target. Beginners should start with this split before experimenting with asymmetric configurations.
When should I use a Wedge formation in Navy War?
Use Wedge when you are opening a raid on an isolated enemy base, because it funnels your Destroyers into torpedo range quickly and lets a leading Aircraft Carrier suppress base turrets. Avoid Wedge against a stationary Cruiser screen, because focused Battleship fire will collapse the formation.
How do I read whether an enemy base is ready to raid?
Check the turret count and dockyard smoke. If all turrets are firing and the dockyard is busy, the base is in Green state and a full raid is high risk. If one or two turrets are offline, the base is Yellow and a Wedge raid is justified. If multiple turrets are down, the base is Red and a full push is correct.
Can a single player defend a base in Navy War?
A single player can hold a base against a single raider, but not against a coordinated pair. This is why the Reactive Defender role is always two players: one handles repairs and anti-air, the other pushes out to counter-attack. Solo defending collapses as soon as two enemies commit.
What is the most common mistake in navy war raiding enemy bases?
The most common mistake is raiding a Green-state base. Community reports consistently show that successful raids land during the Yellow or Red windows, not during the opening minutes. Patience around the 8-minute reset window tends to outperform early aggression.